Hi everyone!
Today I’m gonna share a card I made for my aunt. She wanted a goodbye card for a co-worker. I got a few guide-lines on what she wanted the card to look like. Kind of earthy colors, not to much poofy and girly stuff, like lace and bows. I got the feeling she wanted something that had a bohemian and a little vintage vibe going on.This is what I came up with:

She was very happy with the result and said that it was spot on. That made me really happy, because it can be so hard to get it right, when you don’t know the person that is getting the card. But my aunt said that her co-worker liked the card very much so I guess I did a good job!
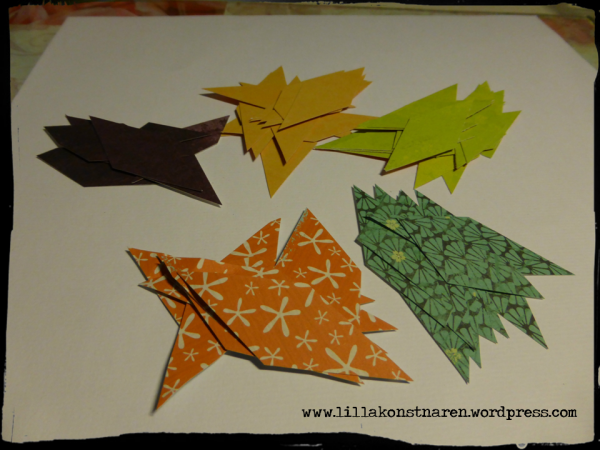
I wanted to show you guys how I did the card, or at least the part with the ”mosaic pattern”. First I decided what kind of shape I wanted my pieces to be. I chose a sort of diamond shape. I thought that would be kind of interesting, and a fun twist. I chose two patterned papers with a small pattern and three others without a pattern so that the background wouldn’t be too overwhelming.
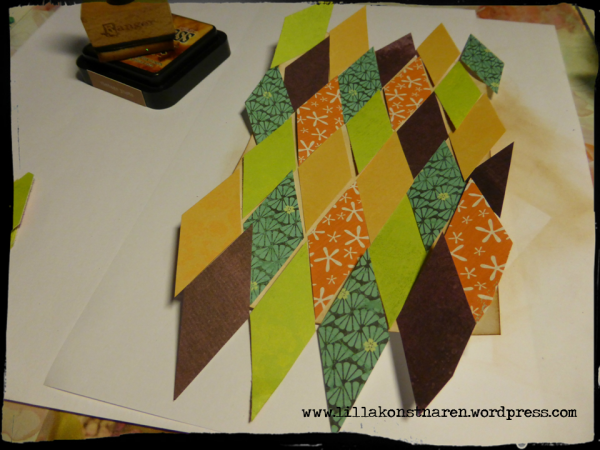
When all the pieces where cut I started placing them on a piece of card stock until I was happy with the result. Before adhering the pieces I applied a little distress ink in vintage photo to the card stock. I wanted a little of the card stock to show through, to mimic ceramic tiles.

Then I adhered the diamond shapes to the card stock and trimmed the edges. The sentiment is a quote that my aunt chose for the card. It’s in swedish and says: Yesterday is history, tomorrow is a mystery, today is a gift. Because the sentiment was quite long, and also because my aunt wanted a lot of space for all the co-workers to write their names on the inside, this is quite a large card. I usually make cards in the standard note card size, 4 1/4 by 5 1/2 inches. Before I got started it felt kind of intimidating to fill such a big space on a card. But when I had the idea ready everything just fell in place.


Because she said she wanted earth tones I thought that the patterned papers were to bright and stood out too much. I then decided to take them down a bit by applying gesso randomly on the piece. I left a few spots clean, so that the colors would pop a bit. After that I stamped some random images around the piece in distress ink. I stamped off once before stamping on the card, for a more faded effect. Then I applied some modeling paste through a crafter’s workshop stencil around the edges to bridge the gap between the ”mosaic piece” and the card base. When the modeling paste had dried, I inked the edges a bit for an aged look, but also to bring down the stark white that the modeling paste comes in. I could have mixed in some color in the paste before applying, but this worked just fine as I wanted just a little more brownish color.
When my background was done I started working on the sentiment. I printed out the quote and cut it into three strips and inked the edges with a little distress ink. Then I placed them in the center of the card and applied a little Inktense water color pencil in charcoal grey to integrate the sentiment into the background. When that was done I felt that the card needed something more. I couldn’t use something girly, like rhinestones or something like that so I decided on stars. I don’t own a star punch or a star die, so instead I stamped stars on white card stock using different distress inks and cut them out by hand. I chose colors that would match the background, to bring it all together. I moved my stars around for a while before deciding on where to adhere them. When adhered, I put a little glossy accents on them to make them stand out a bit more. I love using glossy accents for home made embellishments.


I also printed out a complementing sentiment on the inside of the card: The future is yours and added a few stars around it to balance it up with the front of the card.
It took a little more time to make this card than it usually does when I make the regular card size, but it was a fun project!
Hope you all enjoyed it!
Julia


